Today, we are going to create a multi window application using Electron. I assume that you already have Node.js installed.
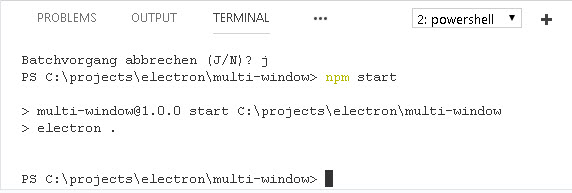
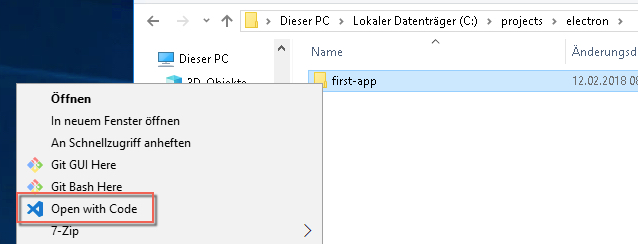
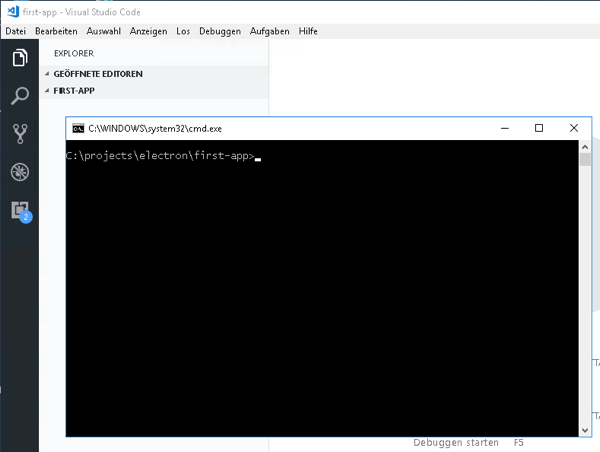
Let us start and create a new folder in our projects directory. ( C:\projects\electron\multi-window ). Then open the folder in the command window.
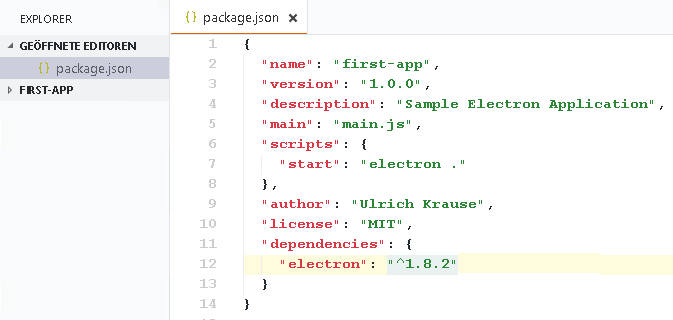
Next use npm init to create the package.json file and install Electron and save it to our dev dependency with npm install electron --save-dev
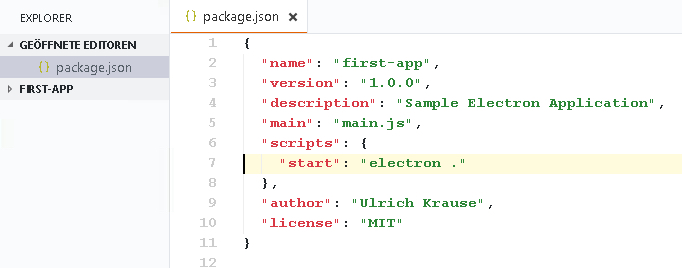
Change the package.json so we can start our application using npm start later on.
Your package.json should now look like this.
{
"name": "multi-window",
"version": "1.0.0",
"description": "",
"main": "app.js",
"dependencies": {
"electron": "^1.8.2"
},
"devDependencies": {},
"scripts": {
"start": "electron ."
},
"author": "",
"license": "ISC"
}
We can now start creating our first window. Create a new file app.js in the multi-window folder and open it in your preferred text editor.
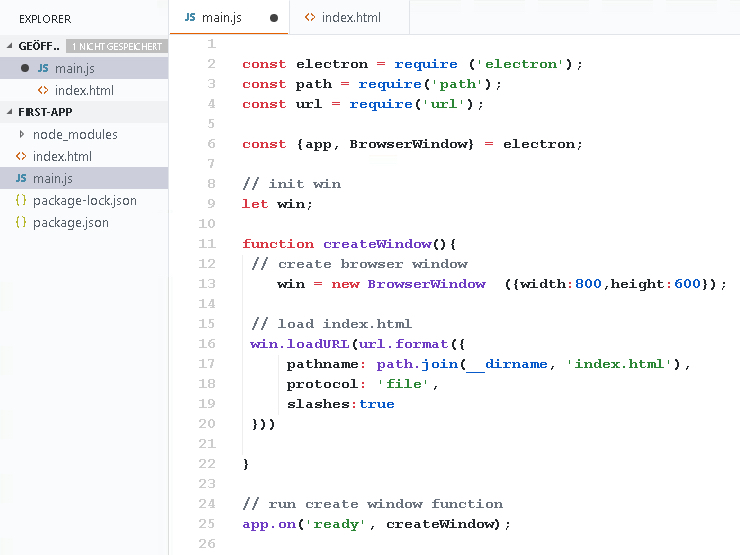
The sample code below shows the minimal code that is needed to create the main window, give it a defined height and width and load the main.html file from the current directory using the file protocol.
const electron = require ('electron');
const {app, BrowserWindow} = electron;
app.on('ready', function() {
var mainWindow = new BrowserWindow({
width:800,
height:600
})
mainWindow.loadURL('file://' + __dirname + '/main.html')
})
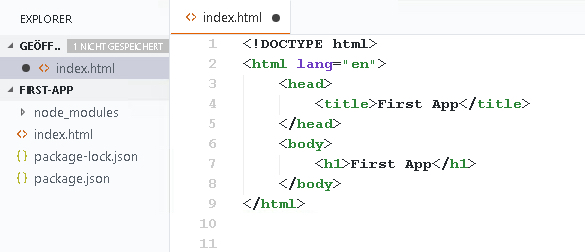
And here is our simple main.html file
<html>
<head>
<title>Multi Window Application
</title>
</head>
<body>
<h1>Main</h1>
</body>
</html>
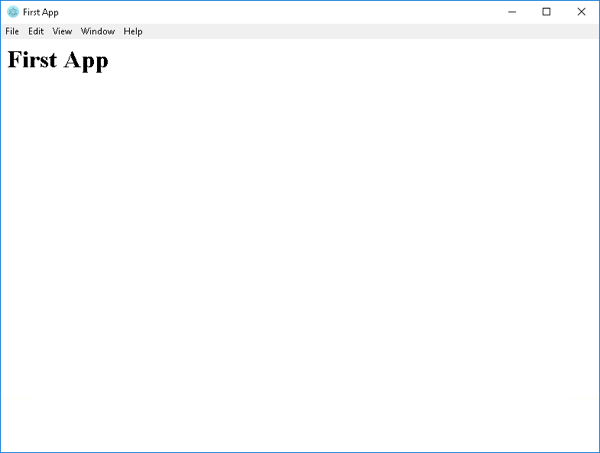
At this point, we can start our application with npm start. You should get
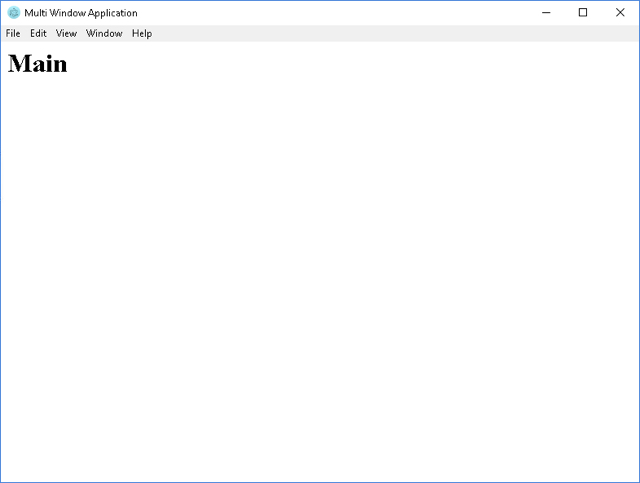
A useful thing to do when you’re working on an app is to open up the dev tool. We can do this by adding the following line to our app.js code.
mainWindow.openDevTools()
When you now start your application, the dev tools also open at startup.
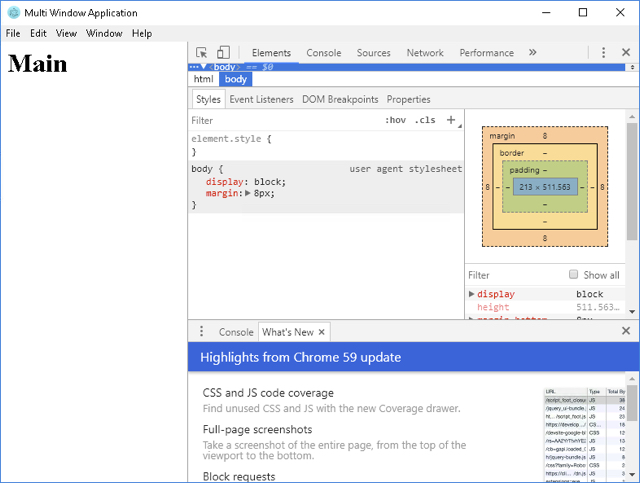
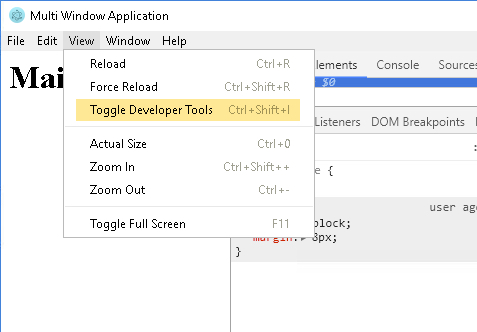
You can switch the tools off / on from the menu bar “View -> Toggle Developer Tools” or using a keyboard shortcut command. If you deploy your application in production, comment out the line of code.
Create a custom menu bar
Lets create our own menu bar now. To do that, we add a new script tag to our main.html file.
<html>
<head>
<title>Multi Window Application
</title>
</head>
<body>
<h1>Main</h1>
<script>require('./main.js')</script>
</body>
</html>
Now that we are requiring the main.js in our main.html file, lets go ahead and create the main.js file. The file is going to handle all the javasript for our main window.
The first thing we want to do is to create a menu object. We can do that by typing
const {Menu} = require('electron')
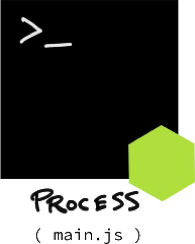
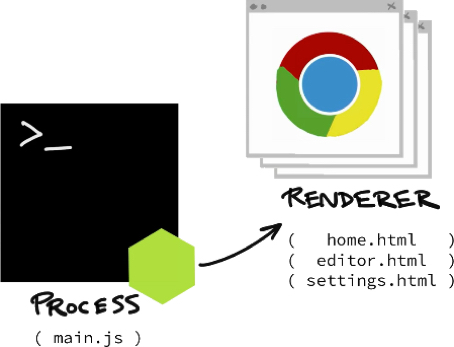
which would perfectly fine, if we were in the app.js. app.js is the main process, and since we have loaded the main.js in the browser, we are in the renderer process.
So we can’t just simply require(‘menu’) here, we have to require the menu from the main process. To do that, we create a remote
const {remote} = require('electron')
and using this remote, we are able to call the require function, which will require the menu from the main process
const {Menu} = remote.require('electron')
Just be aware of this whenever you see remote. there are a couple of ways to create a menue. We will use a helper function that is on the Menu class
var menu = Menu.buildFromTemplate()
and you can just pass in a structured javascript object with the menu structure that you want. The code will create a main menu entry and a submenu; we will use the onClick event handler later.
const template = [
{
label: 'Electron',
submenu: [
{
label: 'Preferences',
click: function() {}
}
]
}
]
Then pass template as an argument to the function and attach the menu to our application.
var menu = Menu.buildFromTemplate(template)
Menu.setApplicationMenu(menu)
Lets go ahead and make that click do something. We could require a remote browser window in the onClick event itself, but it is not that efficient. A better way to do it is to manage all your windows in the main process.
Let us create a new window in app.js (lines 12 to 17).
We add a new prefsWindow the same way, we have added our mainWindow. The important thing here is show.false. When the app is ready, the prefsWindow is not yet shown.
const electron = require ('electron');
const {app, BrowserWindow} = electron;
app.on('ready', function() {
var mainWindow = new BrowserWindow({
width:800,
height:600
})
mainWindow.loadURL('file://' + __dirname + '/main.html')
mainWindow.openDevTools()
var prefsWindow = new BrowserWindow({
width:400,
height:400,
show:false
})
prefsWindow.loadURL('file://' + __dirname + '/prefs.html')
})
Now we have that prefsWindow that is created but still hidden. And so we need a way to call and show that window when the Preferences menu item is clicked.
InterProcess Communication
To do that we use a thing called IPC ( InterProcess Communication ) which is very similar to remote. It allows us to send call back and forth between the main process and the renderer process.
Our main.js will look like this now
const {remote, ipcRenderer} = require('electron')
const {Menu} = remote.require('electron')
const template = [
{
label: 'Electron',
submenu: [
{
label: 'Preferences',
click: function() {
ipcRenderer.send('show-prefs')
}
}
]
}
]
var menu = Menu.buildFromTemplate(template)
Menu.setApplicationMenu(menu)
We have added a new varaiable ipcRenderer and use the ipRenderer to send a message when the menu item is clicked.
This will send a message up to our app, which we can catch in app.js
const electron = require ('electron');
const {app, BrowserWindow, ipcMain} = electron;
app.on('ready', function() {
var mainWindow = new BrowserWindow({
width:800,
height:600
})
mainWindow.loadURL('file://' + __dirname + '/main.html')
mainWindow.openDevTools()
var prefsWindow = new BrowserWindow({
width:400,
height:400,
show:false
})
prefsWindow.loadURL('file://' + __dirname + '/prefs.html')
ipcMain.on('show-prefs', function() {
prefsWindow.show()
})
})
When you now start your application and click the “Preferences” menu item, a new window will open.
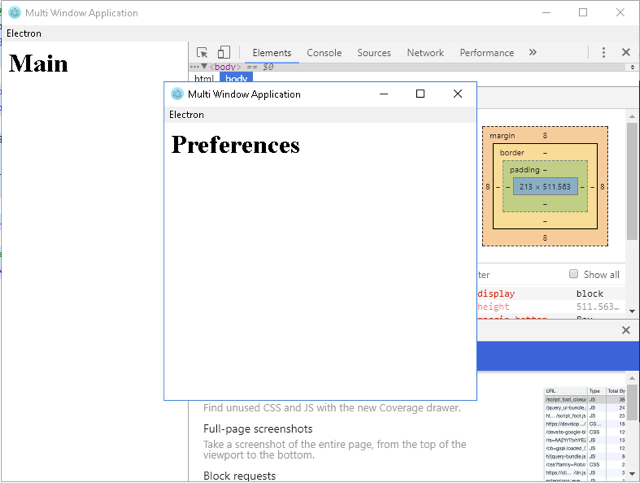
If you close the prefsWindow clicking the X, you will get an error when you try to open it again using the menu. The X will destroy the prefsWindow object and so it is no longer available.
Next we will send messages back from the prefsWindow to the mainWindow. In our prefs.html we create a new script tag ( lines 7 to 15 ) and by now, we add the script directly instead of loading another .js file.
<html>
  <head>
     <title>Multi Window Application</title>
  </head>
  <body>
  <h1>Preferences</h1>
     <script>
        const {ipcRenderer} = require('electron')
        var button = document.createElement('button')
        button.textContent = 'Hide'
        button.addEventListener('click', function() {
            ipcRenderer.send('hide-prefs')
        })
        document.body.appendChild(button)
     </script>
  </body>
</html>
add the following (highlighted) snippet to app.js. The code will listen for the hide-prefs message from the prefsWindows and closes the windows.
ipcMain.on('show-prefs', function() {
  prefsWindow.show()
})

ipcMain.on('hide-prefs', function() {
  prefsWindow.hide()
})
})
Now you can close the prefsWindow with a click on the button and reopen it from the menu.
You can download the full code for this part of the tutorial from here.



 Following part 1 – 5 of the Electron tutorial you’re probably ready with the design, preparation and debugging of your app.
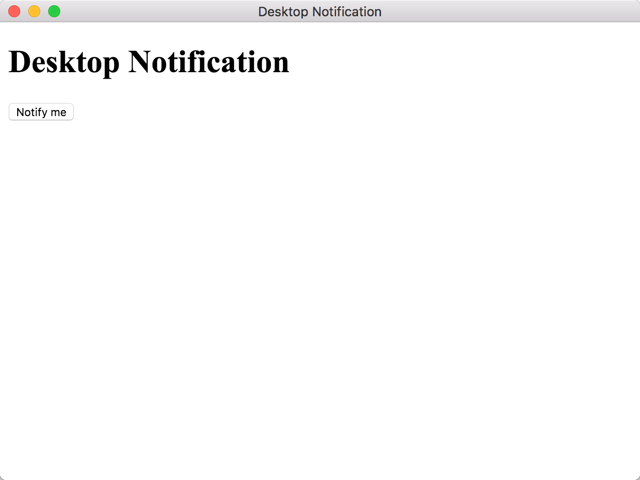
 Today, I want to show, how we can use Electron’s Notification Api for Windows, Linux and macOS. All three operating systems provide means for applications to send notifications to the user.